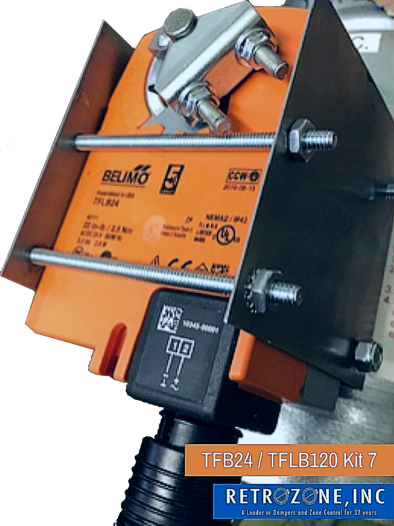
TFLB Kit 7,
Belimo 35141 (24V) /
35142 (120V) Replacement Kit Instructions
This kit replaces motors on DuroZone, EWC and
other brand dampers using a slotted 7/32 damper drive shaft. UL Listed NEMA2/IP42 9405
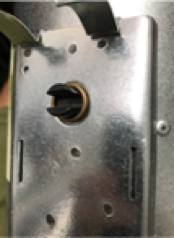
Picture 1: Shows the DuroZone Damper Can with original motor removed. You do not need to remove the damper from the duct for this installation.
Picture 2: Shows the new Support bracket installed with
two self tapping screws (provided) used to connect bracket to Damper Can.
*Note the two long motor support machine screws inserted into bracket. Belimo motor will rest on these two support screws.
Picture 3. Mount motor into bracket as shown. Insert 3/8 drive shaft through bracket and motor, into damper drive slot. Insert top two machine Screws into support bracket. Do not fully tighten motor bracket or Support bracket machine screws at this time.
* Pull drive shaft out slightly, about 1/8 inch, so drive shaft is not bottomed into drive shaft slot.
* Then grasp the end of the 3/8 drive shaft and rotate damper fully closed, or fully open, depending on wether you want the damper, with no power applied, normally open or normally closed.
* If rotation direction of the motor is incorrect for your application, motor may be mounted with gray side up. Motor brackets may be moved from orange to gray side as needed to reverse rotation. On some dampers, motor may be mounted on opposite side of damper to reverse rotation.
* Tighten motor bracket and screws in motor support bracket.
* Operate damper motor with correct voltage. If motor appears to strain or slow at some points in the rotation, loosen and retighten all hardware to eliminate any binds.
* On normally closed dampers, if blade drives past 90 degrees when open, the adjustment block may be moved on the motor to adjust stopping point.


